I love my room. I've spent a lot of effort into making it lovely and it's turned out to be a real sanctuary.
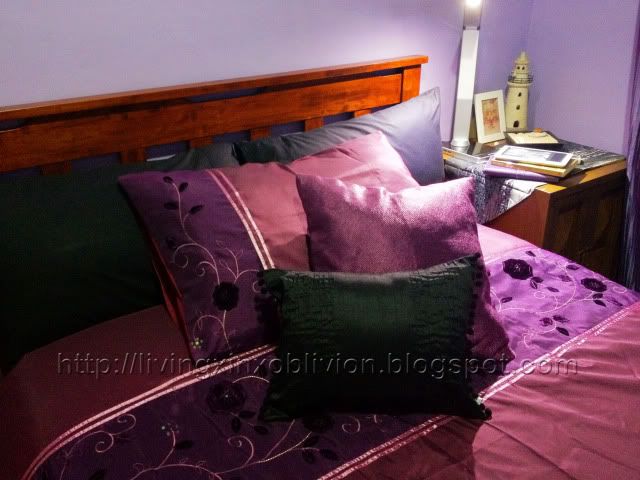
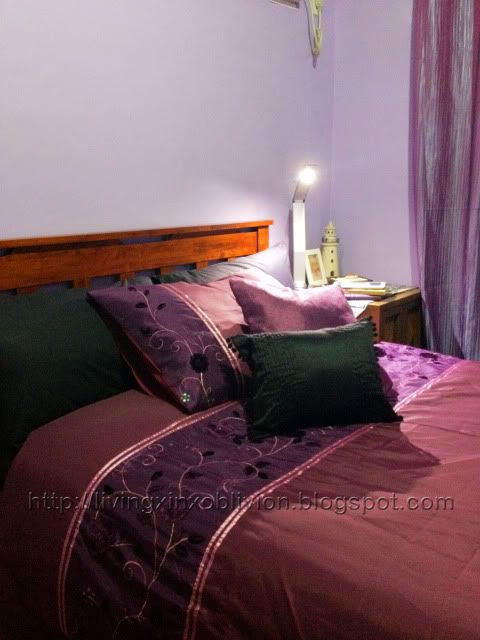


I've been wondering for a long time about what to do with my blank lavender walls. I've been toying with the idea of using wall stencils to add some interest but I thought that was a bit too blah. Being of artistic bent, I also thought about painting my own art on it but it would take too long and I didn't have the time.
This past weekend, I decided to do something about that blank wall and I must say, I am very proud of my handiwork. Before I show you what I've done though, I want to give a little background.
My inspiration was from the TV Show Gossip Girl. In particular, Serena van der Woodsen's room in the Waldorf Apartment. She had beautiful floating black butterflies configured in an ellipse on her neutral walls.

 Isn't it pretty?
I realized, I may not have the money to get an actual Paul Villinski wall installation but I am a good crafter so why not make my own?
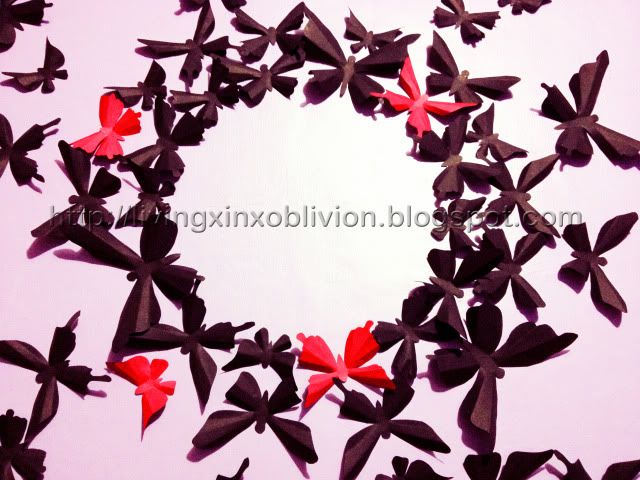
Two days later, here's what my wall looks like.
 |
| Butterfly Wall Art |
 |
| Butterfly Wall Ellipse |
I made 5 different kinds of butterflies that range from 4"x5" to 2"x3". I also added a few red butterflies for interest. I made about 100 butterflies in all.
 |
| I folded them to make them 3D. |
 |
| I even added red butterflies for interest. |
Tell me what you think. Does this work on my wall?
Wow did you do that yourself? That's awesome. I want to try it but not sure how big of a project it is. How long did it take?
ReplyDeleteIt was quite easy and it shouldn't take too long. It only took me about 2 days (4 hours a day) to make about 100 of them.
DeleteI started by making about 5 templates of varying sizes. Then I had to trace them onto craft paper and cut them, one by one. I made a couple of folds per wing to make them 3D, then stuck them to my wall with 3D foam squares left over from my scrappbooking.
You should try it. Let me know how it goes. :)
hey this looks awesome. can you tell me what you used to stick these on your wall?
ReplyDeleteHi. I used the sticky tack to stick them to the wall. It's perfect because it doesn't ruin the wall in case I decide to change it later.
Delete